Mean Stack Deployment To Ubuntu In Aws
MongoDB, Express, AngularJS, and Node.js


Implementing a simple Book register MEAN stack
Now, that you have already learned how to deploy LAMP, LEMP and MERN Web stacks, it's time to get yourself familiar with the MEAN stack and deploy it to the Ubuntu server.
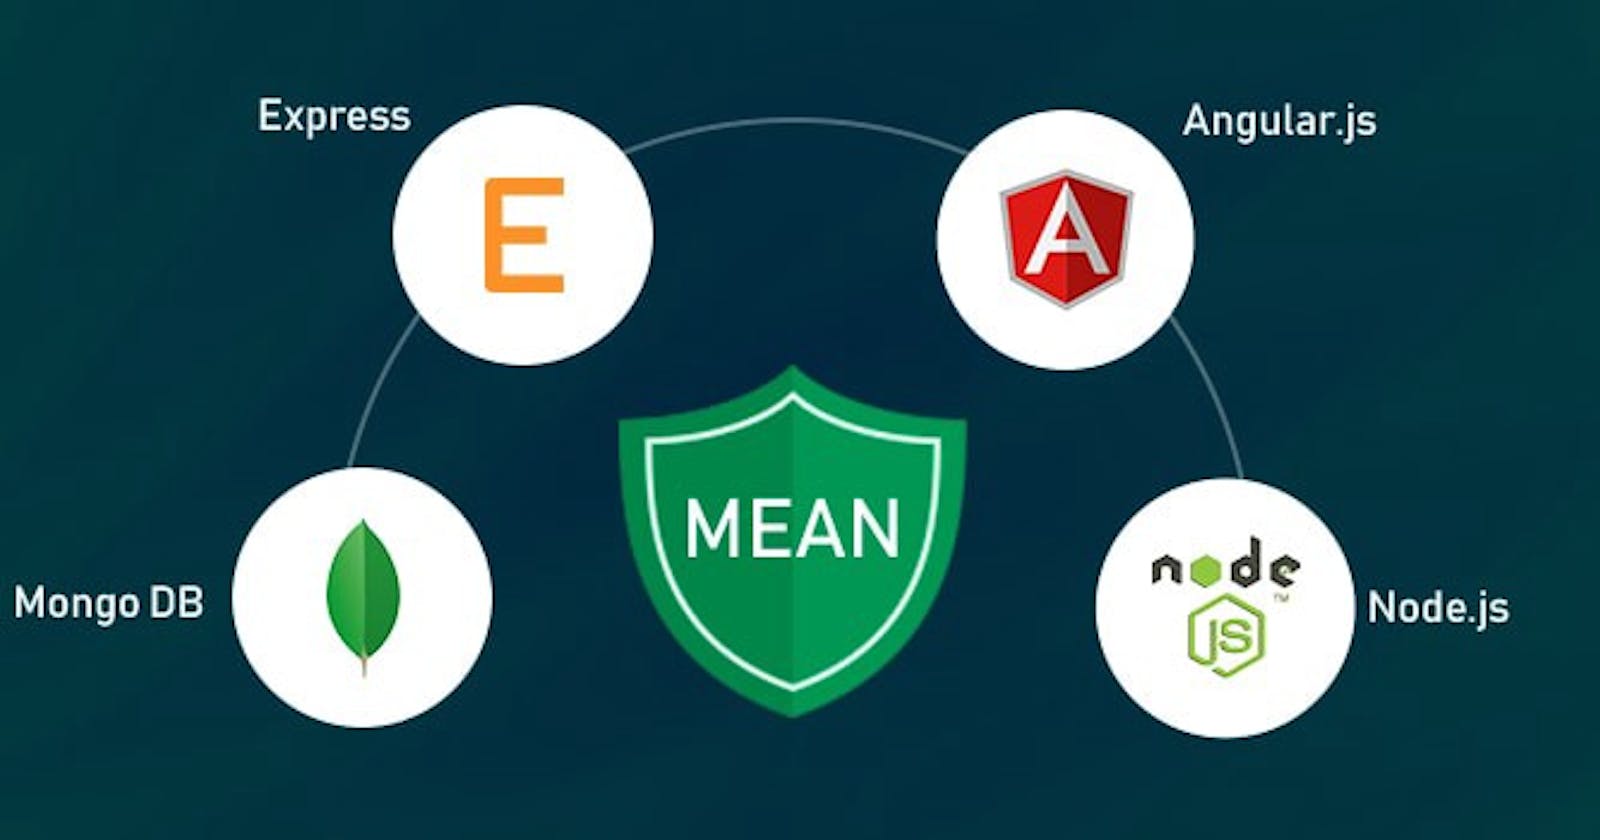
MEAN Stack is a combination of the following components:
MongoDB (Document database) – Stores and allows retrieval of data.
Express (Back-end application framework) – Makes requests to Database for Reads and Writes.
Angular (Front-end application framework) – Handles Client and Server Requests
Node.js (JavaScript runtime environment) – Accepts requests and displays results to end user
Step 0 - Preparing Prerequisites
To complete this project, you will need an AWS account and a virtual server with an Ubuntu server OS. If you do not have an AWS account, create one here and refer to project2 for instructions on how to set up your EC2 instance.
Note: You can have multiple EC2 instances running at a time, but make sure to stop the ones you don't need at the moment, and terminate the ones you have no further use of. Your public IP changes when you stop and restart an instance.
In previous projects, we used different tools to connect to an EC2 instance, but if you do not want to install or launch anything outside of AWS, you can open your CLI straight from Web Console in AWS, like this:
Connect.EC2.Instance.mp4
Task
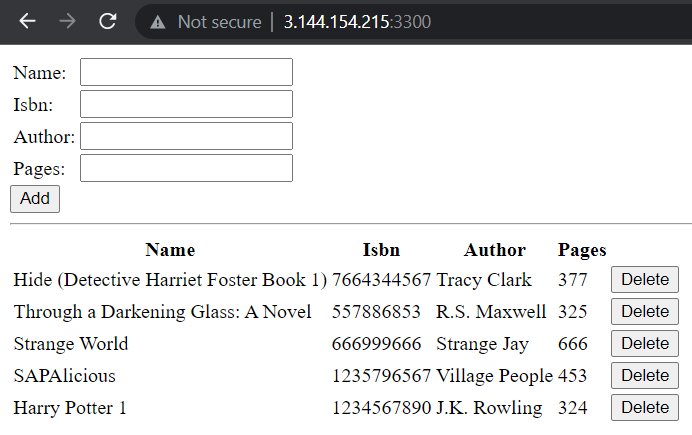
In this assignment, you are going to implement a simple Book register MEAN stack.
Step1 - Install NodeJs
Node.js is a JavaScript runtime built on Chrome’s V8 JavaScript engine. Node.js is used in this task to set up the Express routes and AngularJS controllers.
- Update Ubuntu
sudo apt update
- Upgrade ubuntu
sudo apt upgrade
- Add certificates
sudo apt -y install curl dirmngr apt-transport-https lsb-release ca-certificates
curl -sL https://deb.nodesource.com/setup_12.x | sudo -E bash -
- Install NodeJS
sudo apt install -y nodejs
Step2 - Install MongoDB
MongoDB stores data in flexible, JSON-like documents. Fields in a database can vary from document to document, and data structure can be changed over time. For our application, we are adding book records to MongoDB that contain the book name, ISBN, author, and the number of pages.
sudo apt-key adv --keyserver hkp://keyserver.ubuntu.com:80 --recv
0C49F3730359A14518585931BC711F9BA15703C6
echo "deb [ arch=amd64 ] https://repo.mongodb.org/apt/ubuntu trusty/mongodb-org/3.4
multiverse" | sudo tee /etc/apt/sources.list.d/mongodb-org-3.4.list
- Install MongoDB
sudo apt install -y mongodb
- Start The server
sudo service mongodb start
- Verify that the service is up and running
sudo systemctl status mongodb
- Install npm – Node package manager.
sudo apt install -y npm
- Install body-parser package
We need ‘body-parser’ package to help us process JSON files passed in requests to the server.
sudo npm install body-parser
- Create a folder named ‘Books’
mkdir Books && cd Books
- In the Books directory, Initialize npm project
npm init
- Add a file to it named server.js
vi server.js
- Copy and paste the web server code below into the server.js file.
var express = require('express');
var bodyParser = require('body-parser');
var app = express();
app.use(express.static(__dirname + '/public'));
app.use(bodyParser.json());
require('./apps/routes')(app);
app.set('port', 3300);
app.listen(app.get('port'), function() {
console.log('Server up: http://localhost:' + app.get('port'));
});
Step3 - INSTALL EXPRESS AND SET UP ROUTES TO THE SERVER
Express is a minimal and flexible Node.js web application framework that provides features for web and mobile applications. We will use Express to pass book information to and from our MongoDB database.
We also will use the Mongoose package which provides a straightforward, schema-based solution to model your application data. We will use Mongoose to establish a schema for the database to store data of our book register.
sudo npm install express mongoose
- In the ‘Books’ folder, create a folder named apps
mkdir apps && cd apps
- Create a file named routes.js
vi routes.js
Copy and paste the following code below into routes.js

- In the ‘apps’ folder, create a folder named models
mkdir models && cd models
- Create a file named book.js
vi book.js
Copy and paste the code below into ‘book.js’

Step4 - Access the routes with AngularJS
AngularJS provides a web framework for creating dynamic views in your web applications. We will be using AngularJS to connect our web page with Express and perform actions on our book register.
- Change the directory back to ‘Books’
cd ../..
- Create a folder named public
mkdir public && cd public
- Add a file named script.js
vi script.js
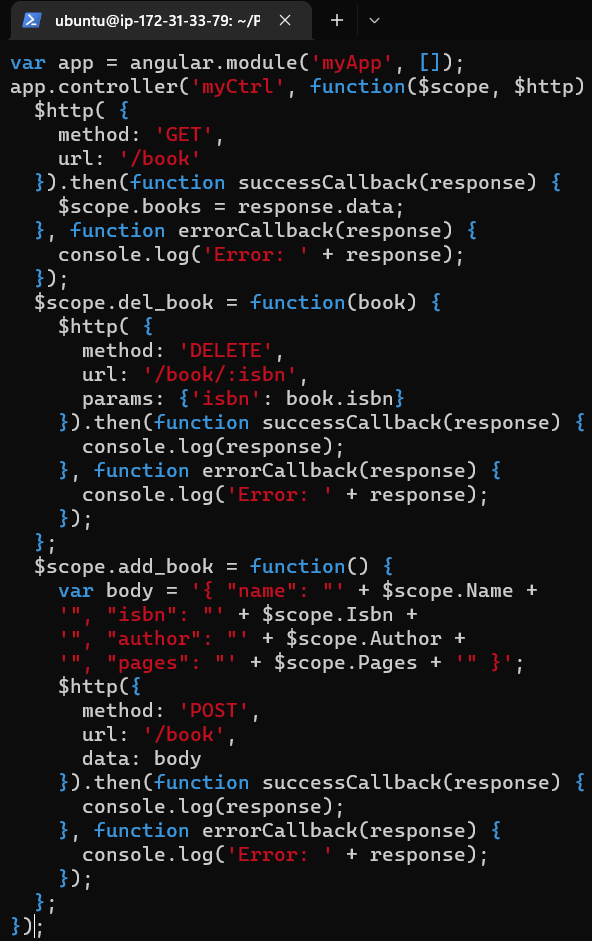
Copy and paste the code below (controller configuration defined) into the script.js file.
- In the public folder, create a file named index.html;
vi index.html
Copy and paste the code below into the index.html file.

- Change the directory back up to Books
cd ..
- Start the server by running this command:
node server.js
The server is now up and running, we can connect it via port 3300. You can launch a separate Putty or SSH console to test what the curl command returns locally.
curl -s http://localhost:3300
Warning You might get an error message while trying to run node server.js, if that happens, upgrade your nodejs to version 12 and/or above. Then run the code again
It shall return a HTML page, it is hardly readable in the CLI, but we can also try and access it from the Internet.
For this, you need to open TCP port 3300 in your AWS Web Console for your EC2 Instance.

Now you can access our Book Register web application from the Internet, with a browser using a Public IP address or Public DNS name.
A quick reminder on how to get your server’s Public IP and public DNS name:
You can find it in your AWS web console in EC2 details
Run curl -s http://169.254.169.254/latest/meta-data/public-ipv4 for Public IP address or curl -s http://169.254.169.254/latest/meta-data/public-hostname for Public DNS name.
This is how your WebBook Register Application will look in the browser: